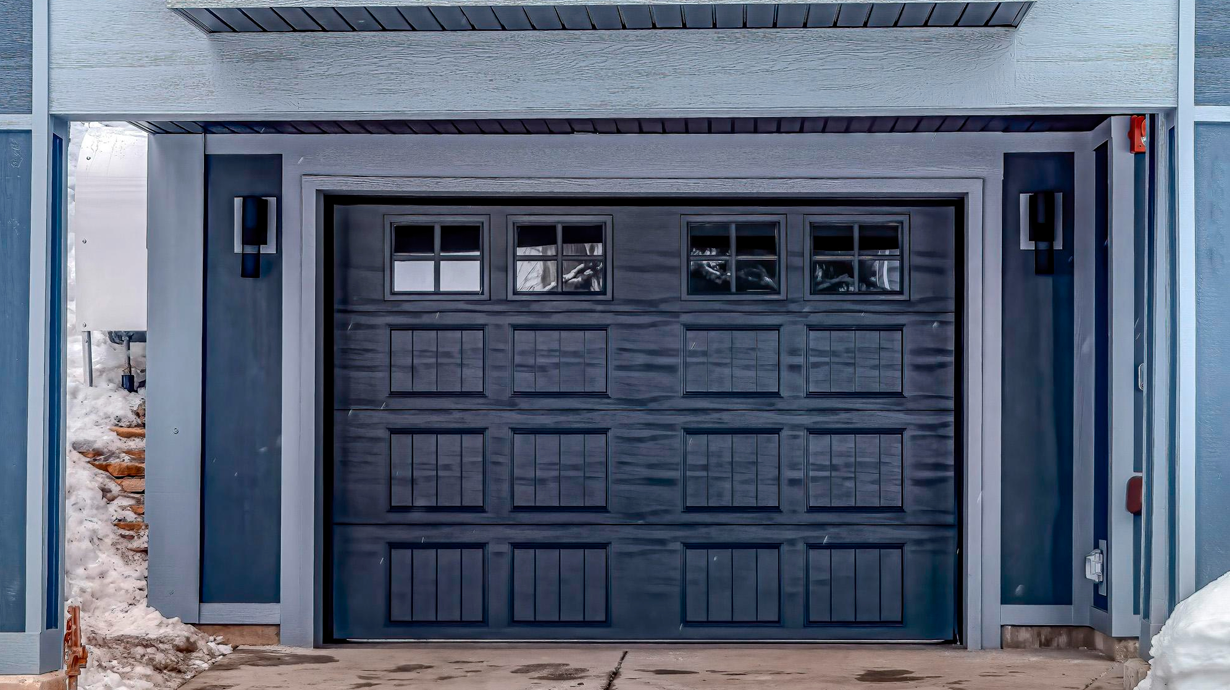
Common Garage Door Problems and How to Fix Them
Track Issues Causing a Stuck Door
Broken or Stretched Garage Door Springs
Sensors Not Lining Up So Door Won't Close
Why Your Garage Door Opener Clicks But Door Doesn't Open
Why Does My Garage Door Make Squeaking, Creaking Noises?
Remote and Wall Push Button Issues
Dead Battery – Many garage door remotes are battery powered. If fresh batteries do not restore function, move on to other troubleshooting tips. Rechargeable remotes may need charging contacts cleaned or internal batteries replaced.
Interference – Other wireless devices like WiFi networks, baby monitors, etc operating on the same frequency can interfere with remotes. Try standing right next to openers when pressing remote buttons. Neighbor’s devices, new smart gadgets, and other environmental changes can cause signal disruption.
Antenna Issues – Opener antennas that communicate with remotes can get bent or disconnected. Visually inspect antennas and reconnect wires that may have come loose. If antennas are damaged, they may need professional replacement.
Faulty Circuit Boards – Bad internal parts like worn out circuit boards, called logic boards, can fail to send or receive appropriate signals. Have an overhead door company diagnose and service faulty logic boards and wall consoles.
Misaligned Photo Eye Sensors – While mainly used for entrapment protection when closing doors, logic boards also communicate with photoelectric sensors. If these fall out of alignment, some openers will fail to pick up remote signals.
Rust Damaging Garage Door Sections
How to Help Avoid Future Breakdowns
Lube the Tracks – About every six months, clean tracks and apply garage door lubricant along the full length – verticals and horizontals. Silicone spray can be used for really sticky rollers.
Test Reversal – Garage door openers have a safety reversing function if they detect obstacles. Test this by laying an object like a 2×4 board in the doorway, allowing doors to touch it while closing. Make sure the opener reverse to fully open again.
Check Remotes and Wall Consoles – Verify battery powered remotes, keypads and wall consoles function properly on a routine basis. Check for signal interference if spotty operation occurs.
Clear Paths – Make sure nothing stored in garages can obstruct the door’s pathway up and down. Even partial obstructions can damage hardware and cause off-track issues.
Consider a Pro Inspection – Have professional garage door companies perform tune-ups, adjustments and full safety/functionality inspections every couple years. They may catch worn parts early before anything breaks.
Congue nisi vitae suscipit tellus. At ultrices mi tempus imperdiet nulla malesuada pellentesque. Semper eget duis at tellus at. Morbi blandit cursus risus at ultrices mi tempus imperdiet nulla. Aliquam purus sit amet luctus venenatis. Tellus molestie nunc non blandit.